 ARTIFICIAL PLANTS
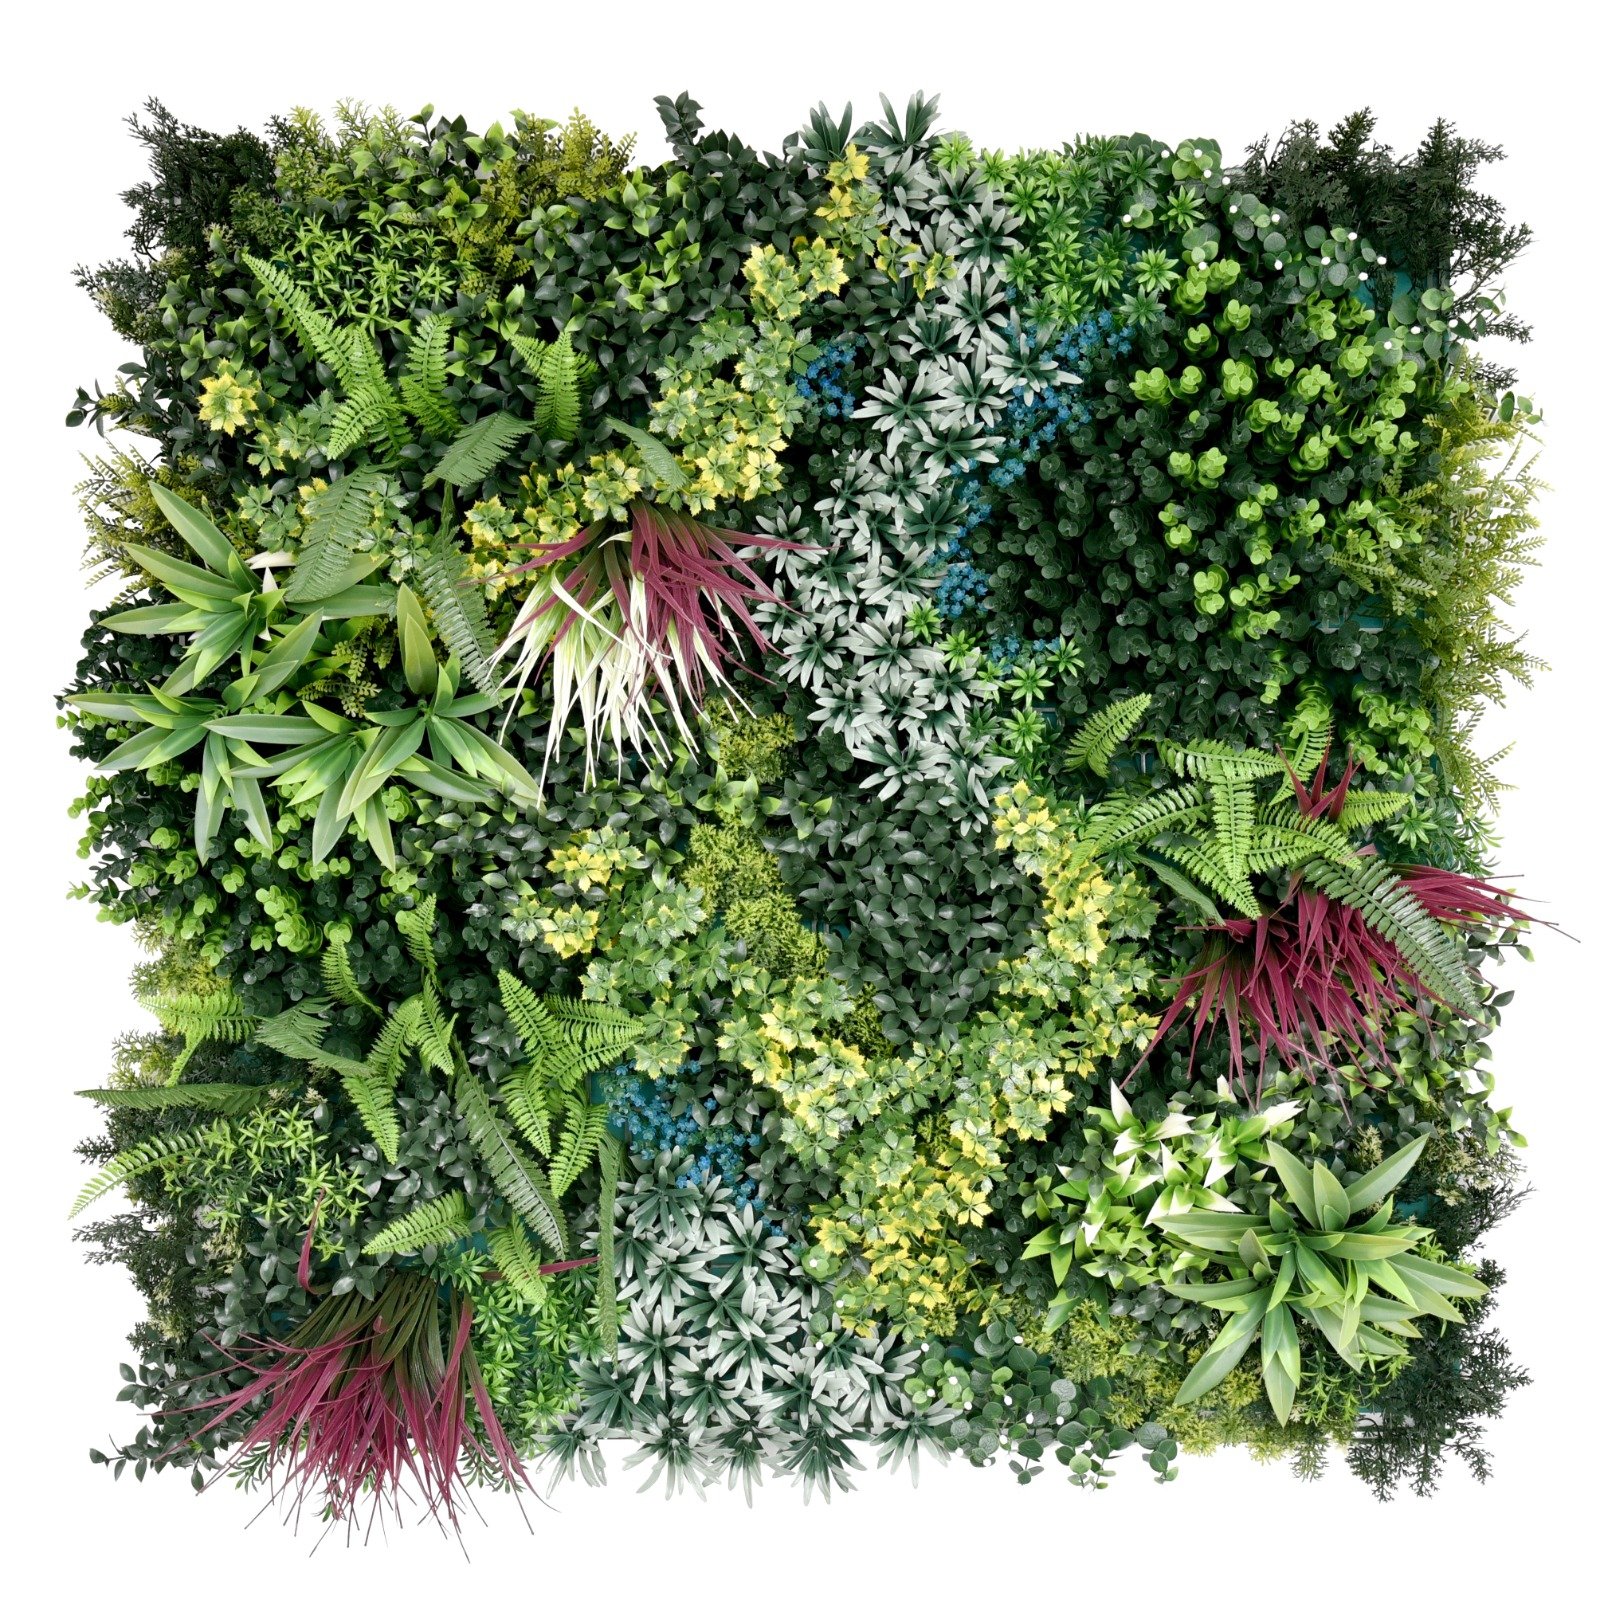 ARTIFICIAL VERTICAL GARDEN
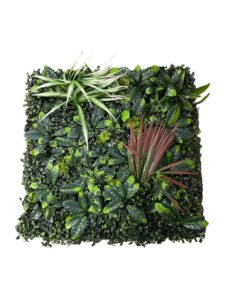
If you’re looking for an easy and budget-friendly way to add a touch of rustic charm to your home decor, look no further than these delightful DIY pine cone hanging leaves. With just a few simple materials and a little bit of creativity, you can transform ordinary pine cones into stunning ornaments that will bring natural beauty and a cozy feel to any space.
In this step-by-step guide, we’ll show you how to turn pine leaves into eye-catching hanging decorations that can be displayed on your Christmas tree, mantel, or even as part of a seasonal centerpiece. The best part? You can customize the look of your pine leaves decorations to suit your personal style and color scheme.
With our easy-to-follow instructions, you’ll learn how to prep and paint your pine leaves, add embellishments like glitter or ribbon, and attach a string or ribbon for hanging. Whether you’re a seasoned DIY enthusiast or just starting out, this project is perfect for anyone looking to add a touch of natural beauty to their home.
Get ready to embrace the beauty of the outdoors and create stunning pine leaves hanging leaves that will impress friends and family alike. Let’s get started on this fun and festive project today!
Materials needed for DIY pine cone hanging leaves
To get started on your DIY pine cone hanging leaves, gather the following materials:
1. Pine cones: Look for pine leaves in your own backyard or local park. Make sure they are clean and dry before using them in your project.
2. Paint: Choose acrylic paint in your desired colors. You can use one color or create a multicolored design for a more vibrant look.
3. Paintbrushes: Have a variety of paintbrushes on hand, including small detail brushes for intricate designs and larger brushes for broader strokes.
4. Glitter: Optional, but if you want some extra sparkle, choose a fine glitter in a complementary color to your paint.
5. Ribbon or string: Select a ribbon or string that matches your decor style. This will be used to hang your pine leaves decorations.
Step-by-step guide to creating DIY pine cone hanging leaves
Now that you have your materials ready, let’s dive into the step-by-step process of creating your own pine cone hanging decorations:
Step 1: Prep your pine leaves
Start by inspecting your pine cones and removing any loose debris. Use a soft brush or compressed air to gently clean them. If you’re using freshly collected pine leaves, you may need to bake them in the oven at a low temperature for about 30 minutes to remove any moisture and open up the scales. Let them cool before proceeding to the next step.
Step 2: Paint your pine leaves
Choose your desired paint colors and start painting your pine leaves. You can paint them entirely or create a more whimsical look by painting just the tips or alternating colors on the scales. Allow the paint to dry completely before moving on to the next step.
Step 3: Add glitter (optional)
For some extra sparkle, you can add glitter to your painted pine leaves. Apply a thin layer of glue to the areas where you want the glitter to stick, then sprinkle the glitter over the glue. Gently tap off any excess glitter and let it dry completely.
Step 4: Attach a string or ribbon for hanging
Once your pine leaves are dry and glittered (if desired), it’s time to attach a string or ribbon for hanging. Cut a length of ribbon or string, loop it around the top of the pine leaves, and tie it securely. Make sure the knot is tight enough to hold the weight of the pine cone but not too tight that it damages the scales.
Step 5: Display and enjoy
With your DIY pine leaves hanging leaves complete, it’s time to find the perfect spot to display them. Hang them on your Christmas tree, drape them on your mantel, or use them as part of a seasonal centerpiece. Get creative and let your personal style shine!
Decorating tips and ideas for DIY pine cone hanging leaves
Now that you know how to create your own pine cone hanging leaves, here are some decorating tips and ideas to inspire you:
1. Ribbon variations: Experiment with different types and colors of ribbon to create unique looks. Satin ribbons add an elegant touch, while burlap or twine can enhance the rustic vibe.
2. Embellishments: Get creative with embellishments like small ornaments, beads, or mini pine leaves. Glue them onto your pine leaves for added texture and visual interest.
3. Natural elements: Consider incorporating other natural elements like dried flowers, leaves, or feathers into your pine cone decorations. This adds an organic feel and brings the beauty of the outdoors inside.
4. Seasonal themes: Change up your pine leaves decorations to match the seasons. Add small artificial berries for a festive winter look or incorporate dried autumn leaves for a fall-inspired display.
5. Groupings: Instead of hanging individual pine leaves, create groupings of varying sizes and colors. Hang them at different heights to create a visually appealing arrangement.
Variations of DIY pine cone hanging leaves
The possibilities are endless when it comes to creating DIY pine hanging leaves. Here are a few variations to inspire you:
1. Ombré pine cones: Use different shades of the same color to create an ombré effect on your pine cones. Start with a lighter shade at the top and gradually transition to a darker shade at the bottom.
2. Glitter-dipped pine leaves: Dip the tips of your pine cones in glue and then sprinkle glitter over them. This creates a stunning effect that resembles snow-covered pine leaves.
3. Marbled pine leaves: Mix two or more colors of paint together to create a marbled effect on your pine leaves. Swirl the colors together with a toothpick or small brush for a unique and artistic look.
Benefits of creating DIY pine cone hanging leaves
There are numerous benefits to creating your own pine leaves hanging decorations:
1. Budget-friendly: Pine cones are readily available and inexpensive, making them a cost-effective option for DIY decor.
2. Personalization: With DIY pine cone hanging leaves, you have the freedom to choose colors, styles, and embellishments that suit your personal taste and home decor.
3. Nature-inspired: Incorporating natural elements like pine leaves into your decor brings a sense of the outdoors into your home, creating a warm and inviting atmosphere.
4. Eco-friendly: By using materials found in nature, you’re reducing waste and promoting sustainability in your home decor choices.
5. Creative outlet: DIY projects like these provide a creative outlet and allow you to express your individuality through your home decor.
Safety precautions when working with pine cones
While working with pine leaves is generally safe, it’s important to take a few precautions:
1. Wear gloves: Pine leaves can have sharp edges, so wearing gloves will protect your hands from getting pricked.
2. Use proper ventilation: When painting or using glue, make sure you’re in a well-ventilated area to avoid inhaling fumes.
3. Be cautious with heat: If you’re using freshly collected pine leaves and need to bake them to remove moisture, be careful when handling them after baking as they may be hot.
Inspiration from other DIY pine cone hanging decorations
If you’re looking for more inspiration, here are a few examples of DIY pine cone hanging leaves created by other craft enthusiasts
Where to find pine cones for DIY projects
If you don’t have pine leaves readily available in your own backyard, there are a few places you can find them:
1. Local parks or nature trails: Take a walk in a nearby park or nature trail and keep an eye out for fallen pine cones.
2. Craft stores: Many craft stores sell pine cones, especially during the holiday season. Check the floral or seasonal decor section.
3. Online marketplaces: You can also find pine cones for sale on online marketplaces like Etsy or eBay.
Conclusion
Creating DIY pine cone hanging leaves is a fun and rewarding way to add a touch of natural beauty to your home decor. With just a few simple materials and a little bit of creativity, you can transform ordinary pine cones into stunning ornaments that will impress friends and family alike. Whether you’re decorating for the holidays or simply want to add a rustic charm to your space, these DIY pine cone hanging leaves are the perfect project for you. So gather your materials, follow our step-by-step guide, and let your creativity soar as you create beautiful and unique pine cone hanging decorations.